Digital Production Arts
DPA 8070 3D Modeling and Animation with Jim Sidletsky
By: Benjamin B. Warner
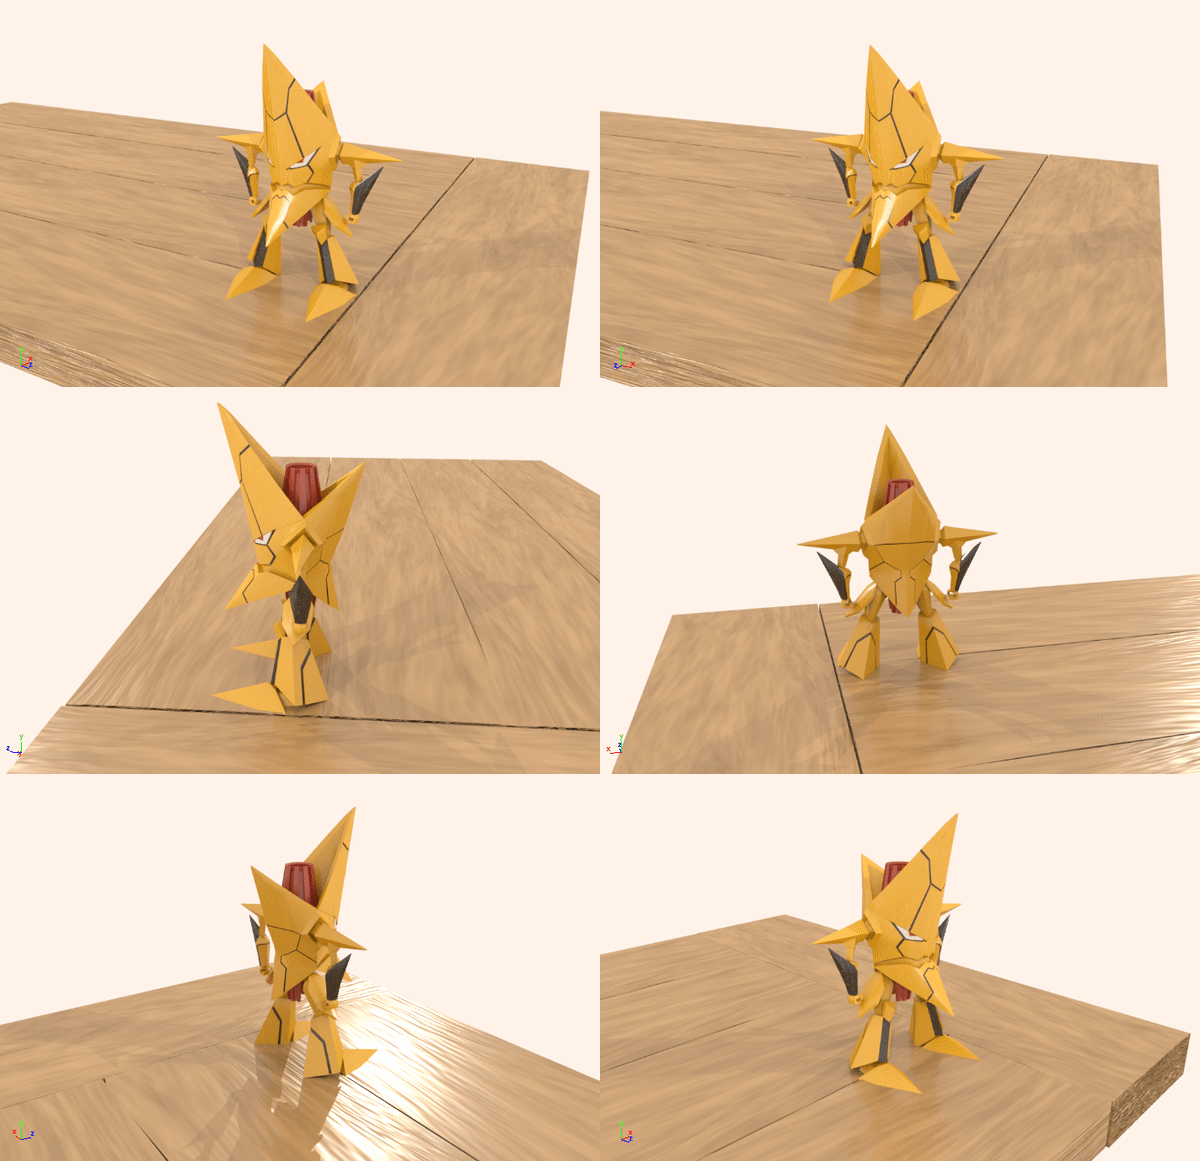
Exercise 10: High Quality Render - King Kittan figure
Date: October 12th, 2020
Objective:
Make your model from project 1 look as great as you can, with shading, lighting, and rendering, so it can be used for our class reel. Place it on a table or on a floor or in front of a background. Create a moving camera that shows your scene.
Solution:
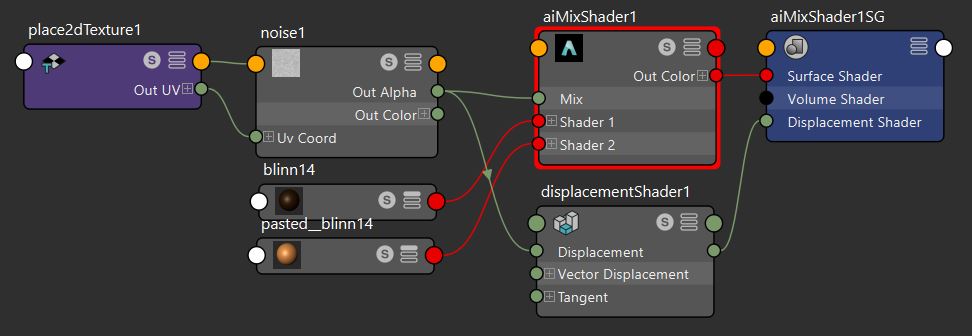
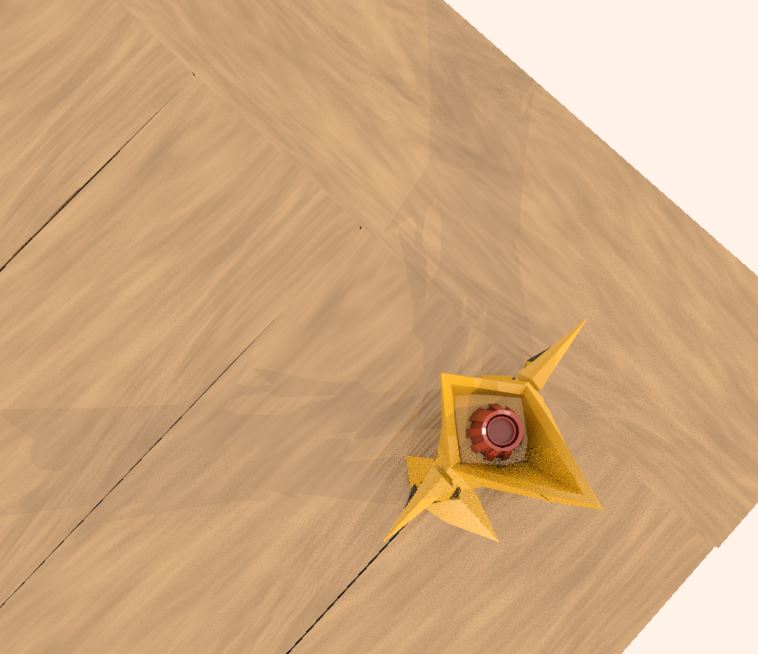
I chose to embelish my model using primarily using the Arnold renderer. I placed the model on a wooden table, but quickly found out that Arnold does NOT work well with Maya’s built in wood textures. So, I made my own wood shader with a basic mix shader of 2 browns with noise.
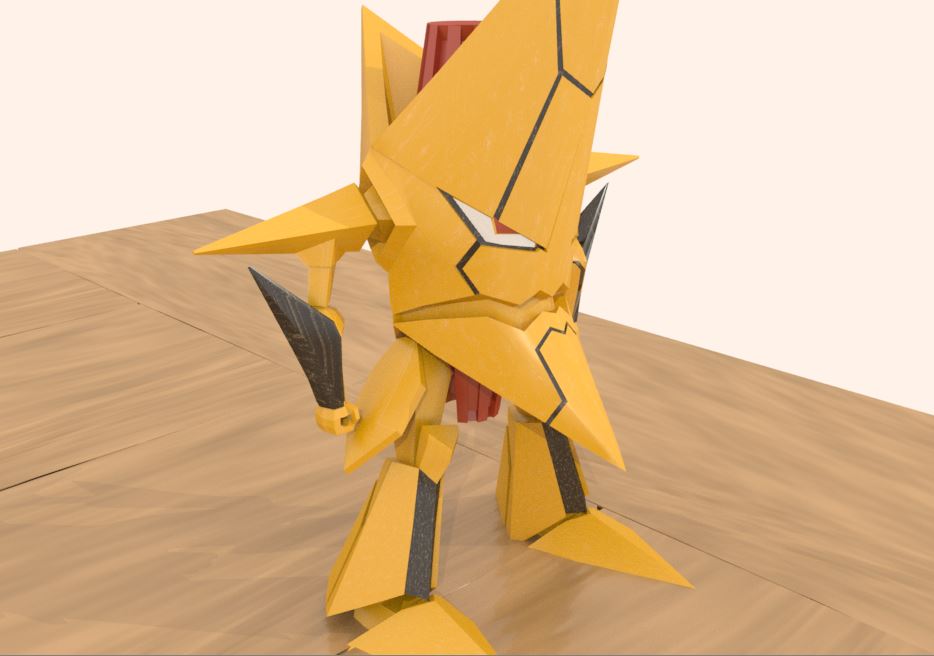
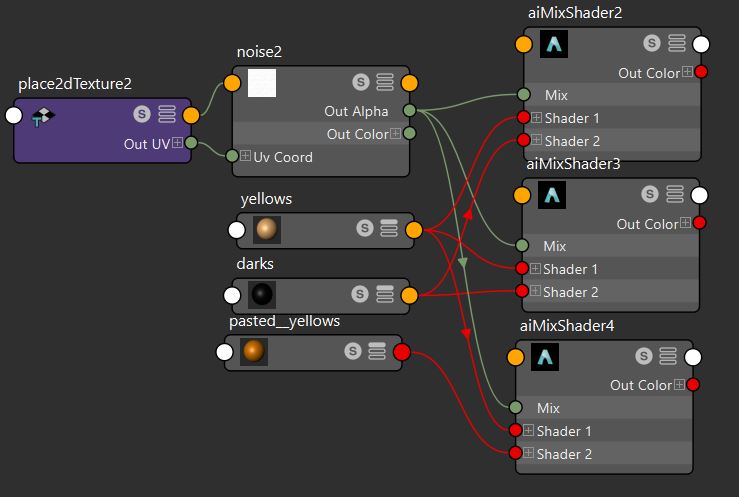
To create the effect of worn plastic, I also used a mix shader for all of the individual components of the model. The base plastic is yellow, with some black paint on top in some spots. A noisy mix of black and yellow gives the impression of worn paint. The mix of yellows as the base gives the impression of imperfect plastic.
I placed the model on a wooden table to give a sense of size to the model. A dome light provides the majority of the light in the scene and 2 directional lights creates a double shadow, immitating the actual lighting of the room at the time.
Playblast is capable of rendering Arnold for the output, but it requires some tuning of the render settings to avoid a crash! It is important to change the “autodetect threads” to OFF and set the number of threads depending on the system. If the processor reaches 100% load while rendering, it will crash!
The output avi file can be downloaded below, but it was converted to a gif to be displayed in this web portal. Unfortunately, some error during conversion is noticeable right before it loops.
